Everyone wants quality products. When the word quality is mentioned in a meeting, it is often generalized to the point where it has lost its meaning. What exactly is quality? Terms like quality, efficiency, effectiveness can all lose their power (another general word) since they have different definitions to different people. However, quality is taken extremely seriously at Nolte Precise Manufacturing’s machine shop since the quality of the parts produced must meet specific quality assurance standards.
So, how does Nolte measure quality?

What Quality Specifically Means
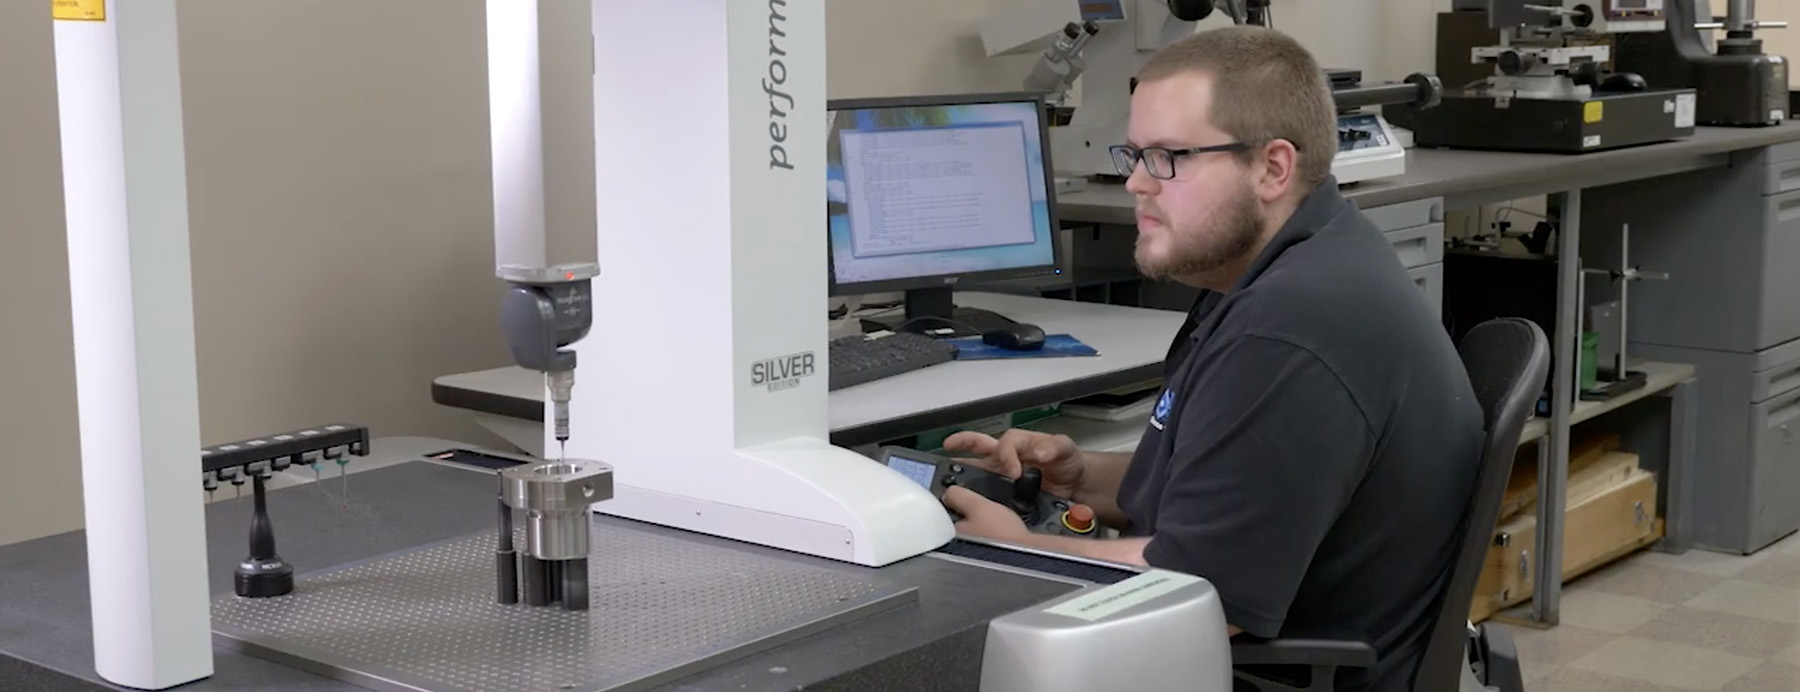
Quality machining starts with precision and consistency. Every part produced must meet exact dimensional specifications, often within thousandths of an inch. Machinists measure these tolerances through in-process inspection and final verification using coordinate measuring machines (CMMs), optical comparators, sensors, micrometers, and surface finish testers. These instruments provide objective, data-driven proof that each component conforms to the customer’s design.
But quality manufacturing goes beyond inspection. It’s built into every stage of production. Process control plays a crucial role. The shop’s documented procedures, calibrated equipment, and trained operators ensure every cut, hole, and surface is repeatable. Statistical Process Control (SPC) and First Article Inspection (FAI) help detect deviations early, preventing defects before they happen.
Traceability is another cornerstone of measuring quality. Raw material certifications, lot numbers and inspection reports, top-tier shops maintain a clear record of every part’s journey through production. This ensures accountability and allows customers to trace performance back to its source.
Certification standards like AS9100 also define measurable criteria for quality management systems. Compliance with these standards means that processes, documentation, and continual improvement programs meet rigorous international expectations.
Ultimately, the best measure of quality is customer satisfaction. A machine shop’s reputation depends on parts that fit, function, and perform exactly as required—every time. Consistent on-time delivery, low return rates, and strong communication are indicators that the shop’s quality systems are working.
Serious Quality Machining
In short, quality isn’t an abstract concept—it’s a disciplined process grounded in measurement, documentation, and continuous improvement. When every dimension, process, and inspection aligns with the standard, quality becomes more than a word. It becomes the foundation of trust between a machine shop and its customers..
Contact Nolte Precise Manufacturing with any questions about these points.

